Demolition and Renovation (How to Tear Down and Start Over)
We have previously touched on who to call and what to do when help is needed after a hurricane in our last blog, but what comes after that? Demolition and renovating a home takes a lot of time and coordination with other professionals with the project, and of course patience.
To begin, demolition and doing it properly is not only for the safety of your home, but your health. The following are rules and regulations for completing a feat like demolition and renovation, if you plan to do the project yourself there are OSHA regulations that should be followed. An inspector from either your city or county will come out for a proper inspection as well. Below is a numerical list of the demolition of your home and the remodeling.
Demolition
- Health Precautions – Safety equipment like the proper shoes, masks, and sometimes safety suits may be needed.
Tip: Before you start on anything go through one more walkthrough of your space, there might be a few last-minute changes that you want to make.
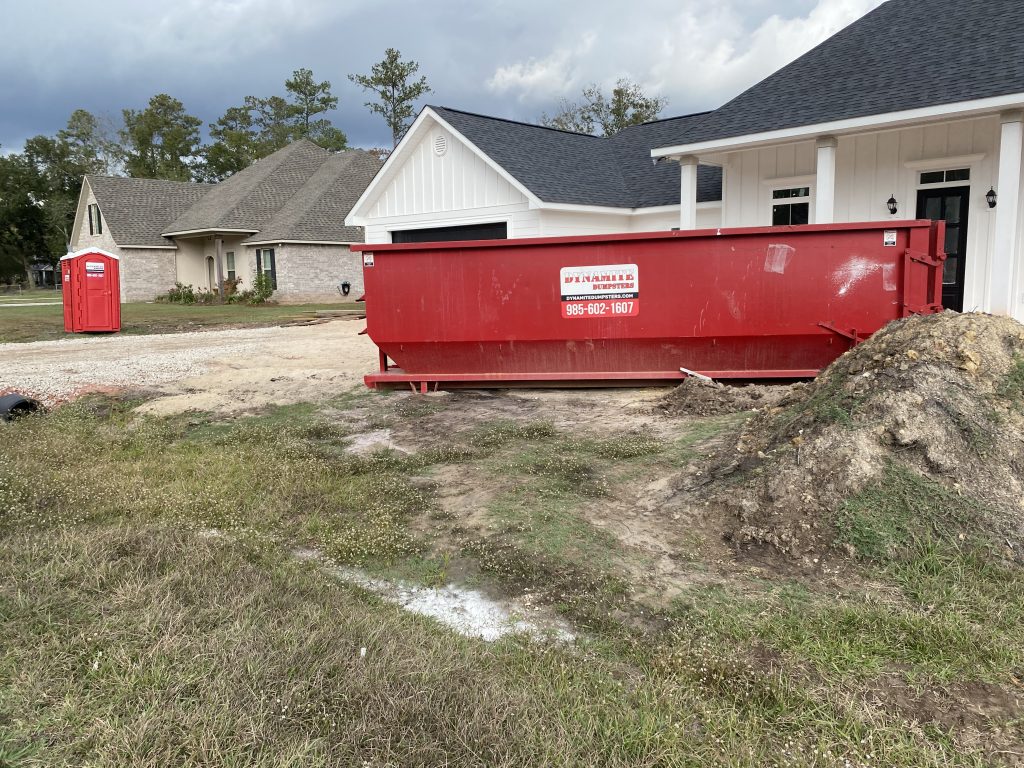
- Gutting the structure – The first thing you’re going to need to do is make sure your water and gas are properly shut off. This avoids any bursts of water or gas leaks while tearing sheet rock down or even walls. Tools you will need to gut the house include, but are not limited to; sledgehammers, saws, safety goggles, hard hats, a roll-off dumpster, and some crowbars. Following this you will start to take sheet rock and insulation out of the walls you’ll be working with. New floors usually get put into a renovation so old floors will need to come out as well. If dealing with carpet you will need to make sure to get all the old nails and glue off the floor.
While gutting your house be on the lookout for mold or possibly termite damage, If found this will impact your project, and call for additional steps to be taken to ensure the issue is resolved.
Another integral thing to note when gutting a house is load-bearing or vital walls that are holding up the structure. If you’re wanting these walls to be removed you will have to find a better solution for the weight being distributed or the wall will unfortunately have to stay.
Renovation
- Finding a contractor (If DIY comes to be too much)
When looking for a potential contractor to hire having a clear idea for the project ahead will be very helpful. Go in having a vision board and inspiration is a great place to start. With help making a vision board, you can utilize things like Pinterest, Etsy, HGTV, and so much more. Finding a contractor that has the same vision as you is important, especially on a big project. They will make the process for you much less stressful and only present problems or suggestions that will help your wallet. At this step, your new layout and estimated time frame will be presented and changes if needed will be made as well.
- A Clean Slate Budget – Once you have everything cleaned out and have the bare bones ready it’s time to start budgeting how much you want your renovation to cost. Here is a small breakdown of a few must-need items:
- Wood floors: $3 to $10 per square foot
- Tile floors: $3 to $10 per square foot
- Cabinets: $80 to $90 per cabinet
- Counters: $40 to $100 per square foot
Something else you’ll want to consider is if you are getting all new furniture in the rooms you will be renovating. If so, you’ll have to include it in your overall budget.
The overall budget for projects like this can cost anywhere from $30,000 to $150,000 depending on how much work your home needs. A Home Equity Loan could be an option for you when looking to renovate so long as you’re not renovating due to a natural disaster. To break it down a little further, gutting a home can cost around $3,000 to $7,000. A home remodel can range anywhere from $12,000 and up depending on the size of the project.
- Start with your Utilities – If renovating only a part of your home make sure your water, HVAC, gas, and electricity are properly set up and completed. A home without these things in place and done properly can make a home unsuitable to live in.
- Walls and Floors – The next step will be putting up the drywall. The drywall will need to be taped and mudded. Once the mudding is dry, all the walls will need a good sanding to get that nice even surface. You’re always going to want to do the walls first before the floor and yes that means even painting them. It saves you the time of having to tape down a tarp on new flooring. After the walls are completed start putting those new hard woods or tiles down.
Additional Tips
-Biggest Project First – If there is a larger room that needs to be done, do it first! Putting it off will only give you a bigger headache in the end. If you’re redoing something like the kitchen or family room where you know you’re going to be spending a lot of time get it out of the way.
-Clean As You Go – A huge time saver once a room has been finished is getting leftover debris cleaned up and thrown into your dumpster. Storing leftover supplies like extra flooring might come in handy if you find yourself short in another room. Mopping the floors so it’s furniture-ready is also a huge help.
-Saving All Around – Updating your home can help with numerous things in your future plans such as reducing your home’s energy footprint, adding value to your home with the changes you made, or helping with life changes that have presented themselves.
-Have a Cushion – Always budget for more than you think you need. There are always problems that arise when doing a project of this magnitude. Whether it has to do with moving your utilities around in the kitchen or laundry room or a structure problem.
-Be Smart – If there is part of the project you have very little knowledge of or it may be even a little more dangerous than anticipated, outsource it and get a professional.